
Summary
This article will teach you how to create and manage multiple warehouse locations in Kyozou. This is useful when you want to add, delete and modify product storage locations in your warehouse. You can also print labels and view the structure of your storage locations at a glance.
How to set-up Warehouse locations:
- Go to Inventory>Warehouse Management (Click the image below).
 The options are explained below:
1) Add Location – This option is used to custom create locations in Kyozou (Click the image below).
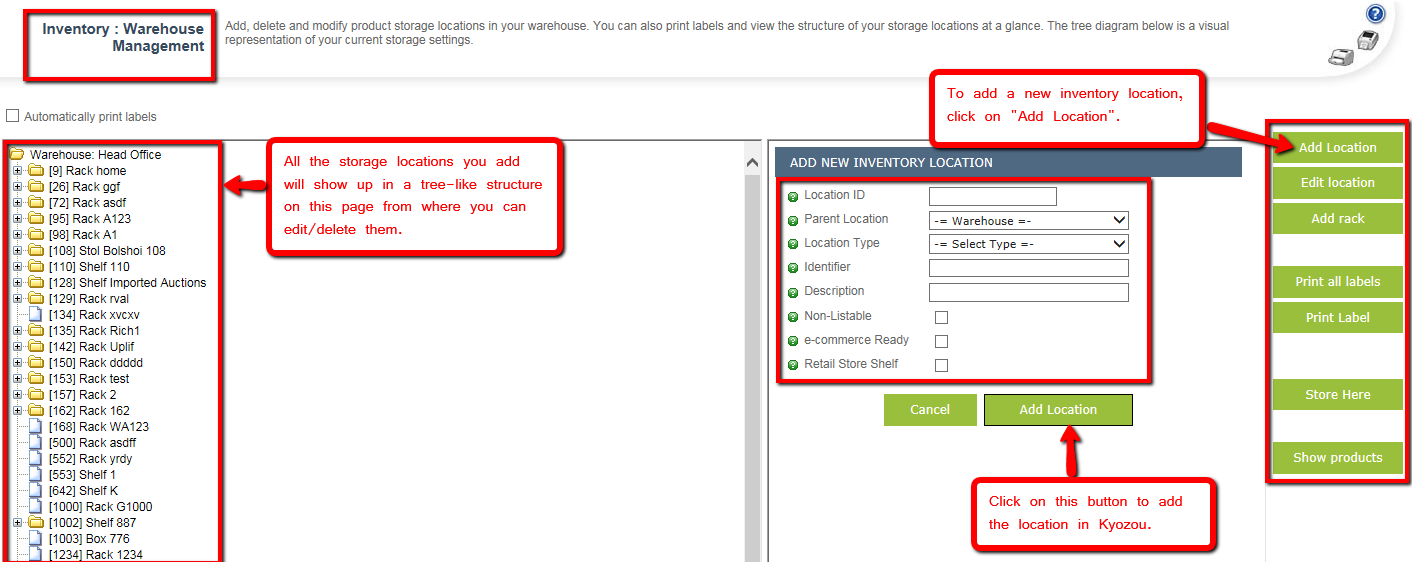
As per the image above:
- Location ID – If you leave this field blank, it will auto-populate.
- Parent Location – You can use this field if you want to create a sub-location, for ex: place a box on a shelf.
- Location Type – Choose from any pre-defined location types (racks, shelves, bins). If you want to custom create a new type, choose “Other’’. When you do it another field will appear called ‘Other Type’ where you can specify the name for ex: Skid.
- Identifier – Here you can specify the name of the location. The type of the location will show in front of the identifier, so if you want to create ‘Rack A’, you’ll choose Rack as the Location type and you’ll enter ‘A’ in the Identifier.
- Non-Listable – Checkmark this option if you want to make sure any items assigned to this location cannot be listed.
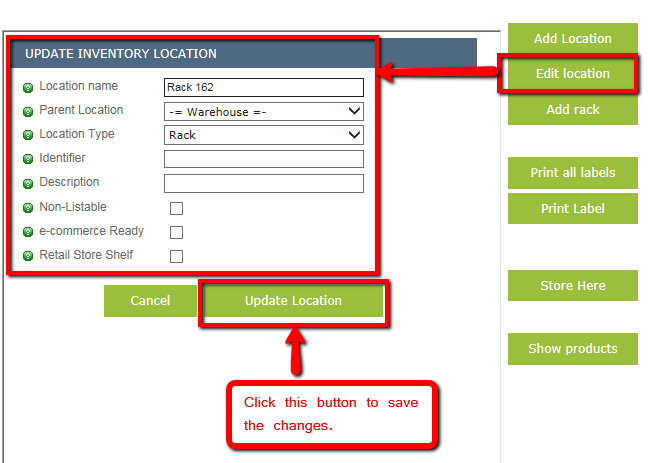
2) Edit Location – This option is used to edit any existing locations created (Click the image below). Click on the location you want to edit and then click on ‘Edit Location’. The same options as ‘Add Location’ will appear and make changes as needed.
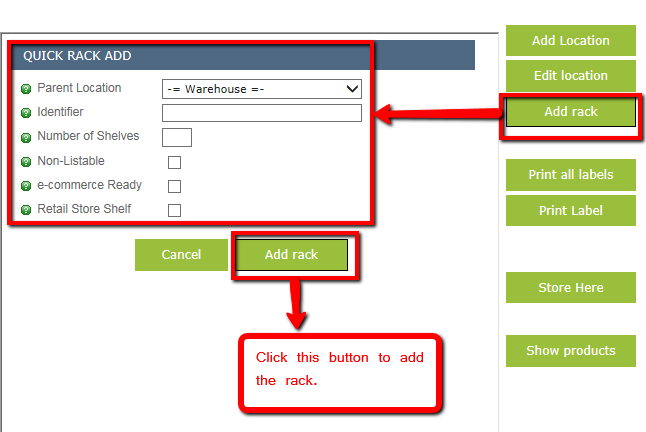
3) Add rack – Here you can quickly add a rack and specify the number of shelves on said rack (Click the image below).
4) Print all labels – Select a parent location to quickly print out all the labels associated with it (includes any sub-locations, for ex: racks and shelves).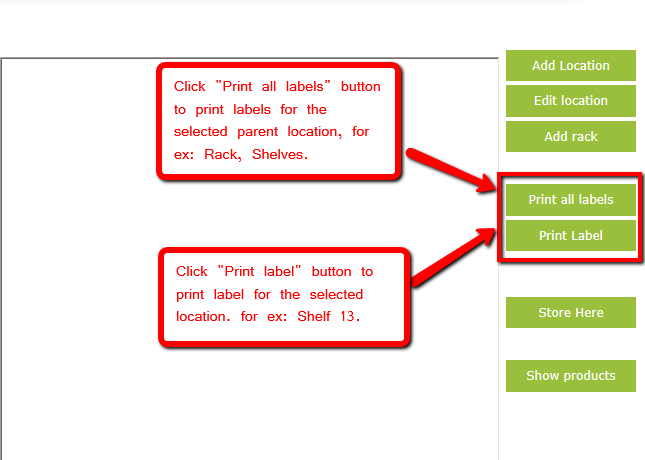
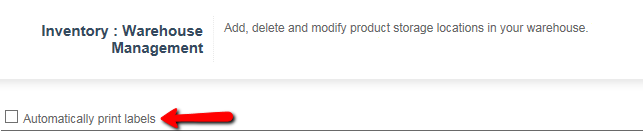
5) Print Label – Select one location and print the label associated with that particular location (for ex: Shelf 13). Also, an option “Automatically print labels” has been provided at the top of the page. By selecting this option, whenever you create a warehouse location Kyozou will automatically try to print the label. If you need to make any edits to the shelf location once created, this option is not recommended (click the image below).
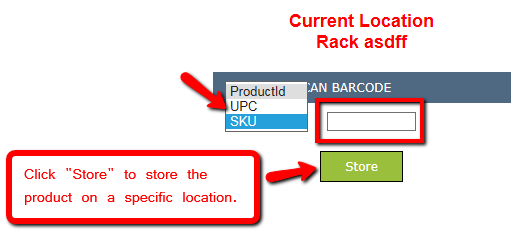
6) Store Here – Select a location that you want to quickly assign a product to. You will be taken to the storage screen where you can enter the Product identifier (for ex: Product ID) manually or scan it from the product label printed (Click the image below).
7) Show Products – Using this option you can find out all the items currently stored on a particular location by selecting the location. This will take the user to the Manage/Search Inventory page showing all the items assigned to that location (Click the image below).

8) Delete Location – Select a location to delete it from your Virtual Warehouse. NOTE: If you have any items stored in that location it will disassociate the item from that location (Click the image below).
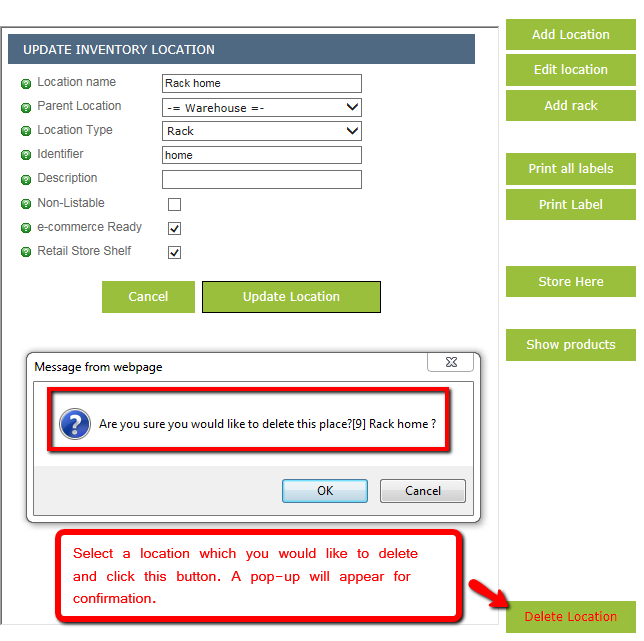
Note: Deleting a parent location (for ex: Rack) cannot be deleted until all sub-locations (for ex: Shelves) are first deleted.
Leave A Comment?
You must be logged in to post a comment.